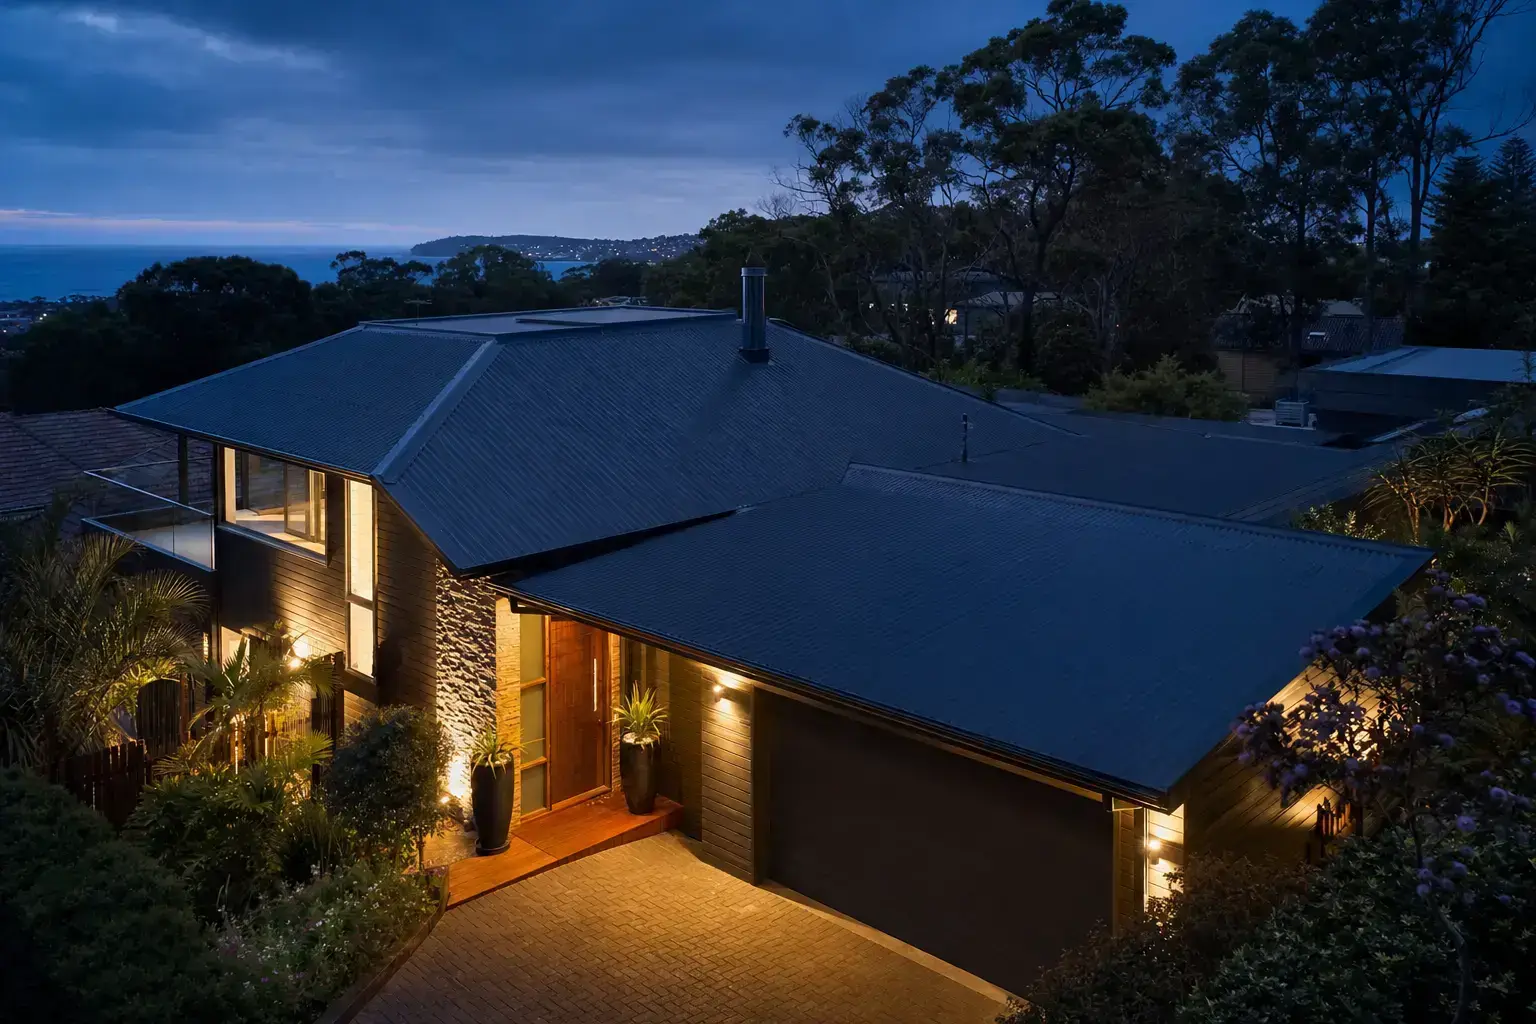
The roof is due. The tiles have gone chalky, the ridge pointing is cracking, and you have been meaning to book a restoration for a couple of years. Then you look up at the solar array across the north face and wonder whether the whole thing just got too hard.
It hasn't. A roof restoration with solar panels takes more planning and one extra trade, but it is a normal job for us on the Central Coast. Here is how it works, what changes compared with a roof that has nothing on it, and the one timing decision that can save you paying for the same work twice.
The roof under your panels is often the worst part of it
Panels shade the tiles beneath them. Shade means the surface stays damp for longer after rain and dew, and damp is exactly what moss and lichen need. On a lot of solar roofs we inspect, the patch under the array is the dirtiest section of the whole roof, and it is the one part you cannot see from the yard. If growth is already a problem on your roof, our guide to moss and lichen on Central Coast roofs explains why it matters for the tiles.
Then there is the installation itself. Solar mounts are fixed through or around your roof covering, and every one of those fixings is a spot where water can get in if the flashing is poor. Flashing quality varies a lot between installers. Tiles also get walked on during an install, and concrete tiles crack under a boot in the wrong place. A broken tile hidden under a panel can let water in for years before anyone spots it, which is why we look closely at the area around the mounts. Our post on replacing cracked roof tiles covers what happens next if we find some.
There are two ways to do it, and only one restores the whole roof
Working around the array
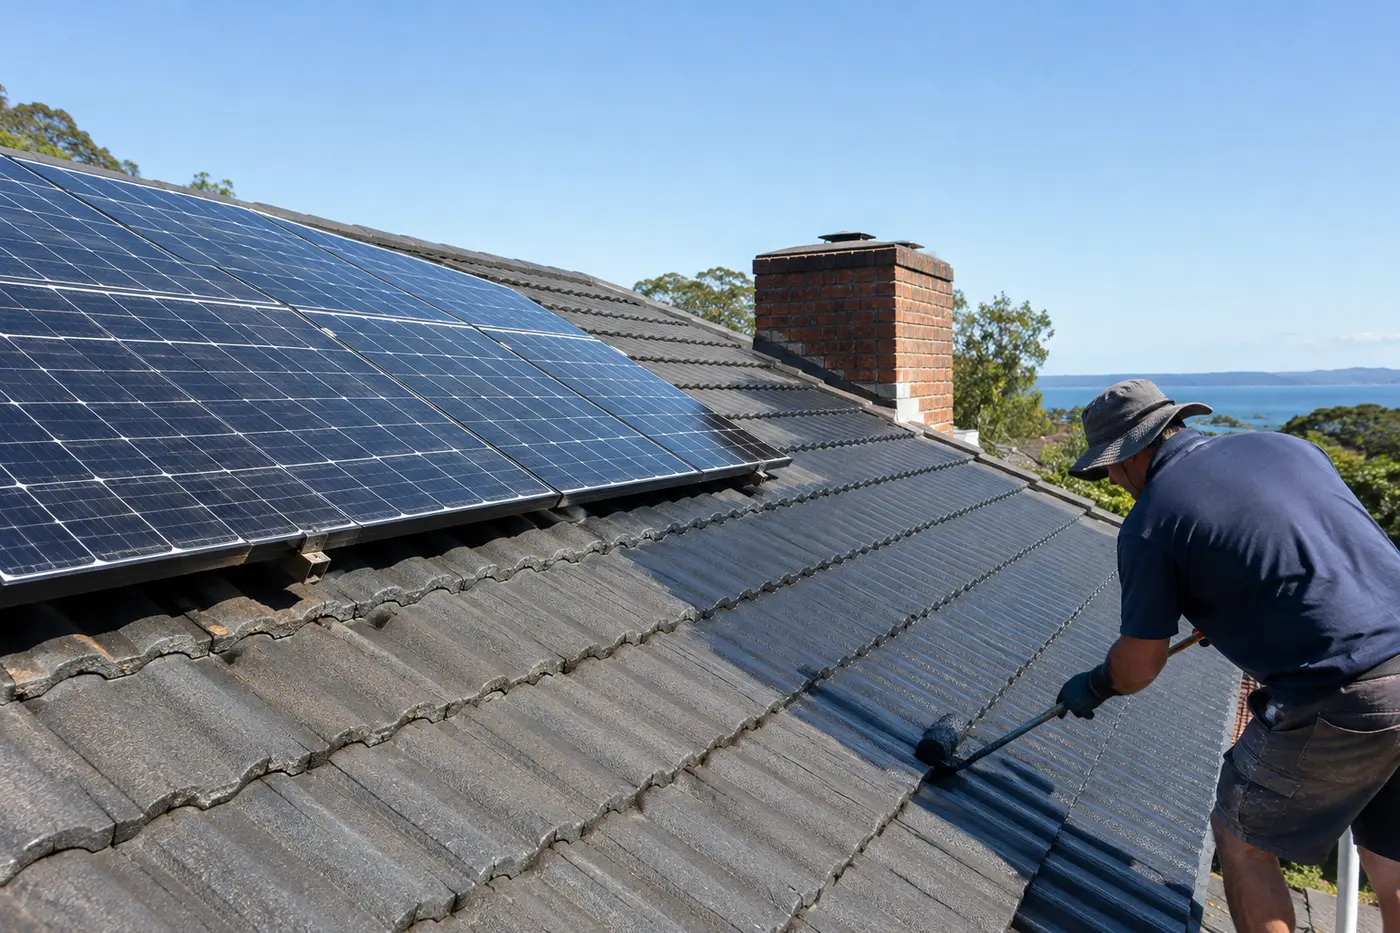
Sometimes the panels can stay put. We clean, repair and coat the exposed roof, and treat what we can reach under the panel edges. This can make sense when the array is small, the roof under it is in decent condition, or the system is fairly new and lifting it is hard to justify.
The downside is simple. The tiles under the panels do not get the full clean, repair and coating. If the panels ever come off later, you will see an uncoated patch in the middle of an otherwise finished roof, and any cracked tiles or tired flashings under there stay as they are.
Lifting the panels and putting them back
The thorough option is a lift and relay. A solar installer safely disconnects the system and takes the panels off. We then restore the entire roof, including the section that was under the array, replace any cracked tiles and check the mounting points. Once the coating is done, the installer refits the panels and gets the system running again.
For most homes with a large array and a roof genuinely due for restoration, this is what we recommend. It is the only way the whole roof gets the same treatment. You can read more about each stage of the work on our roof restoration service page.
A solar installer handles the panels, and we organise the timing
Solar panels produce electricity whenever light hits them, even with the inverter switched off. That is why the panels and wiring are a job for a licensed solar installer, not for a roofer and certainly not for a homeowner on a ladder. Please don't try to unbolt or move panels yourself.
You don't have to manage two trades on your own, though. We coordinate removal and reinstallation with accredited solar installers and build it into the schedule and the quote. When you compare quotes from different roofers, check that the solar work is listed clearly, so you are comparing like with like rather than finding out later that one price left it out.
One question worth asking your solar installer or system supplier before work starts: does removing and refitting the panels affect any warranty on the system? The answer depends on the product and who installed it, so get it from them directly.
Expect a few extra days of planning, and a few days without solar
Most of our restorations take 2 to 4 days, weather permitting. With solar involved, the installer's visits sit at either end of that, one to take the panels off and one to put them back. Coatings need dry weather, so if rain interrupts the restoration, the refit moves with it.
While the panels are off, the system is not generating. You will be drawing all your power from the grid for those days, so it is worth knowing in advance if you track your bills closely.
If the panels are not on yet, restore the roof first
This is the advice we wish more people heard before they signed a solar contract. If your tile roof is older and showing its age, have it looked at before the panels go on. Restoring it first means the array sits on a sound, freshly coated roof. Restoring it afterwards means paying for a lift and relay down the track.
The same goes if you are planning to upgrade or replace an older solar system. The panels are coming off anyway, so that is the cheapest moment to get the roof done. And if the inspection shows the roof is past restoring, it is far better to know that before a new system is bolted onto it.
What we look at during the inspection
Every solar roof is a little different, so the plan is set on site. We look at how the panels are mounted, how much of the roof they cover, the condition of the tiles or sheets around the mounts, and the flashings at each fixing point. From there we can tell you honestly whether working around the array is reasonable or whether the panels should come off.
The inspection is free, and you get a written quote that sets out the restoration and the solar coordination as separate items. Our restorations carry a 15-year warranty, with conditions applying.
Book an inspection before you decide
If you have solar on a roof that is starting to look tired, or you are about to install panels on an older tile roof, the right order makes a real difference. Have a look at how we restore tile and metal roofs on the Central Coast, then get in touch to book a free on-site inspection. We will tell you what the roof under your panels actually needs.